
New bathroom tiling can improve your space way more than you think, adding style and function. At G&M Home Remodeling, we specialize in expert floor and wall covering solutions that enhance your home’s value. Here’s our comprehensive guide to the bathroom tiling process.
Step 1: Prepare The Surface For Installation
Before any materials go down, proper preparation is key. Start by removing existing coverings and thoroughly cleaning the area. Check for uneven spots, cracks, or moisture issues that could compromise your new bathroom tiling.
For floors, ensure the subfloor is structurally sound and level. Walls require smooth, dry surfaces free from damage. Apply a suitable backer board in wet areas to prevent moisture problems. This foundation work determines how well your project will hold up over time.
Step 2: Apply Tile Adhesive (Thinset Mortar)
Selecting the right adhesive is crucial for a successful job. For most bathroom tiling projects, we recommend thinset mortar, which provides excellent bonding strength in humid environments.
Mix your adhesive according to manufacturer guidelines until you achieve a peanut butter-like consistency. Using a notched trowel, spread the mixture evenly across your prepared surface. Work in small sections of 2-3 feet at a time to prevent premature drying before placement.
Step 3: Lay The Bathroom Tiling
This is where precision matters most. Begin from the center of the room, working outward to ensure balanced appearance. Place spacers between each piece to maintain consistent grout lines.
Press each piece firmly into the adhesive with a slight twisting motion to ensure proper bonding. Use a level frequently to check that everything remains even across the surface. For complex patterns like herringbone or basketweave, careful planning before starting helps achieve professional results.
Step 4: Cut The Tiles For Your Bathroom As Needed
Edge pieces and areas around fixtures usually require custom fitting. Measure carefully and mark your pieces before cutting. For straight cuts, a manual score-and-snap cutter works well, while a wet saw handles curves and intricate shapes.
Always wear appropriate safety gear when cutting materials. Take your time with measurements—the saying “measure twice, cut once” is especially relevant for bathroom tiling projects.
Step 5: Grout and Finish
After allowing adequate drying time (typically 24 hours), remove all spacers and prepare to apply grout. Select a grout color that complements your design—contrasting colors highlight patterns, while matching colors create a more seamless look.
Mix the grout and apply using a rubber float, working diagonally across joints. After initial setting (about 20 minutes), wipe away excess with a damp sponge. Once completely dry, apply a quality sealer to protect your new bathroom tiling from stains and moisture.
FAQ's On How To Tile A Bathroom
What are the differences between ceramic, subway tile, and penny tile for bathroom renovations?
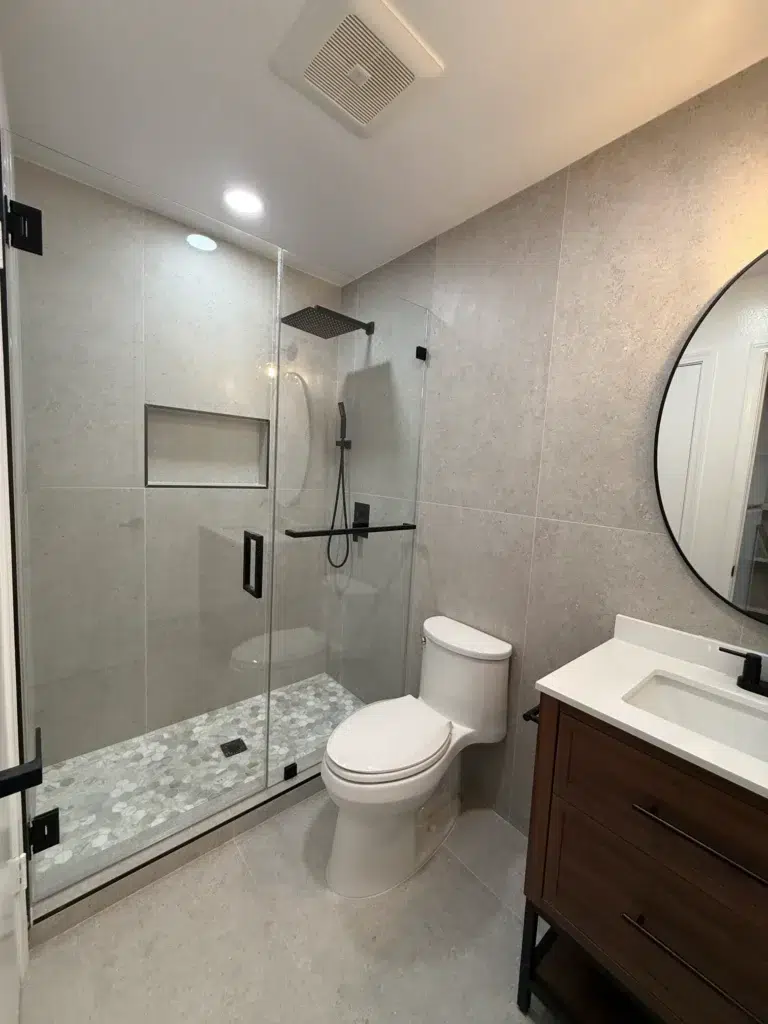
When planning your bathroom renovation, material selection is crucial. Ceramic offers versatility and water resistance at various price points. Subway provides that classic rectangular shape perfect for shower walls and backsplashes. Penny creates distinctive circular mosaic patterns that add character to floors or accent walls. Each option brings different maintenance requirements and aesthetic possibilities to your project.
How do I choose the right floor pattern tile for my bathroom tile style?
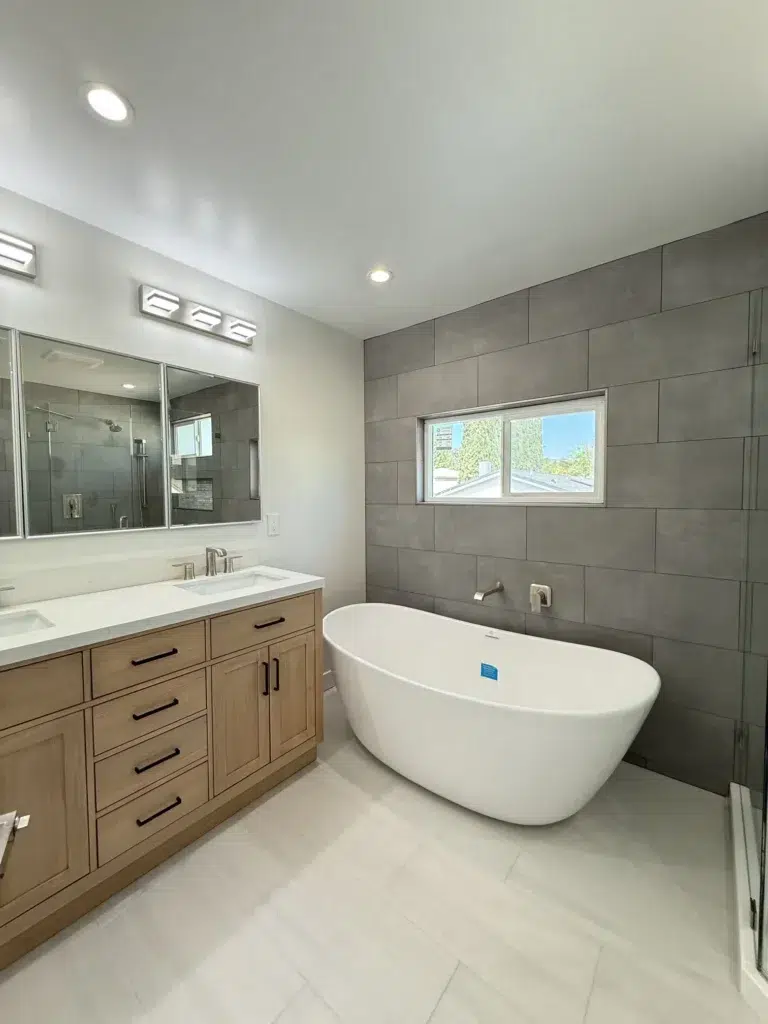
Your floor pattern dramatically impacts your bathroom’s overall look. Consider your space size—herringbone or diagonal layouts make small areas appear larger, while basket weave patterns complement traditional designs. For modern spaces, large-format neutral tiles create sleek, contemporary lines. Remember that complex mosaic wall and floor patterns may increase installation costs but provide stunning visual interest that elevates your bathroom renovation.
Are black tiles practical for bathroom floor tiles?
While black create dramatic, sophisticated bathroom floors, they show water spots, dust, and footprints more readily than lighter options.